I’m not sure how many times I spent the 11pm hours staring at my word document trying to figure out how to get my wedding invitation return address labels printed. Sitting in my desk with my MacBook open on word, I tried using my ruler as a guide to roughly estimate where in the world I should my text boxes for those pesky return address label sheets, and ended up wasting 4 sheets of expensive return address label sheet that ultimately made me spend more than what I paid for my wedding invitations. I finally had enough of myself and my roommate wandered into the room, saw my frustration, gave me a sympathetic look and asked me” Why aren’t you using the Avery template number?”
What?
Twenty minutes later I had a nicely formatted sheet of address labels with a side of resentment for those who didn’t know about Avery’s template numbers and how to use them.
And honestly, this is how most people are introduced to Avery’s templates. Not through a kind, patient, and well thought out explanation of what Avery’s template number system is, but by frustration and a waste of an entire sheet of Avery’s expensive label sheets.
What are the Avery template numbers?
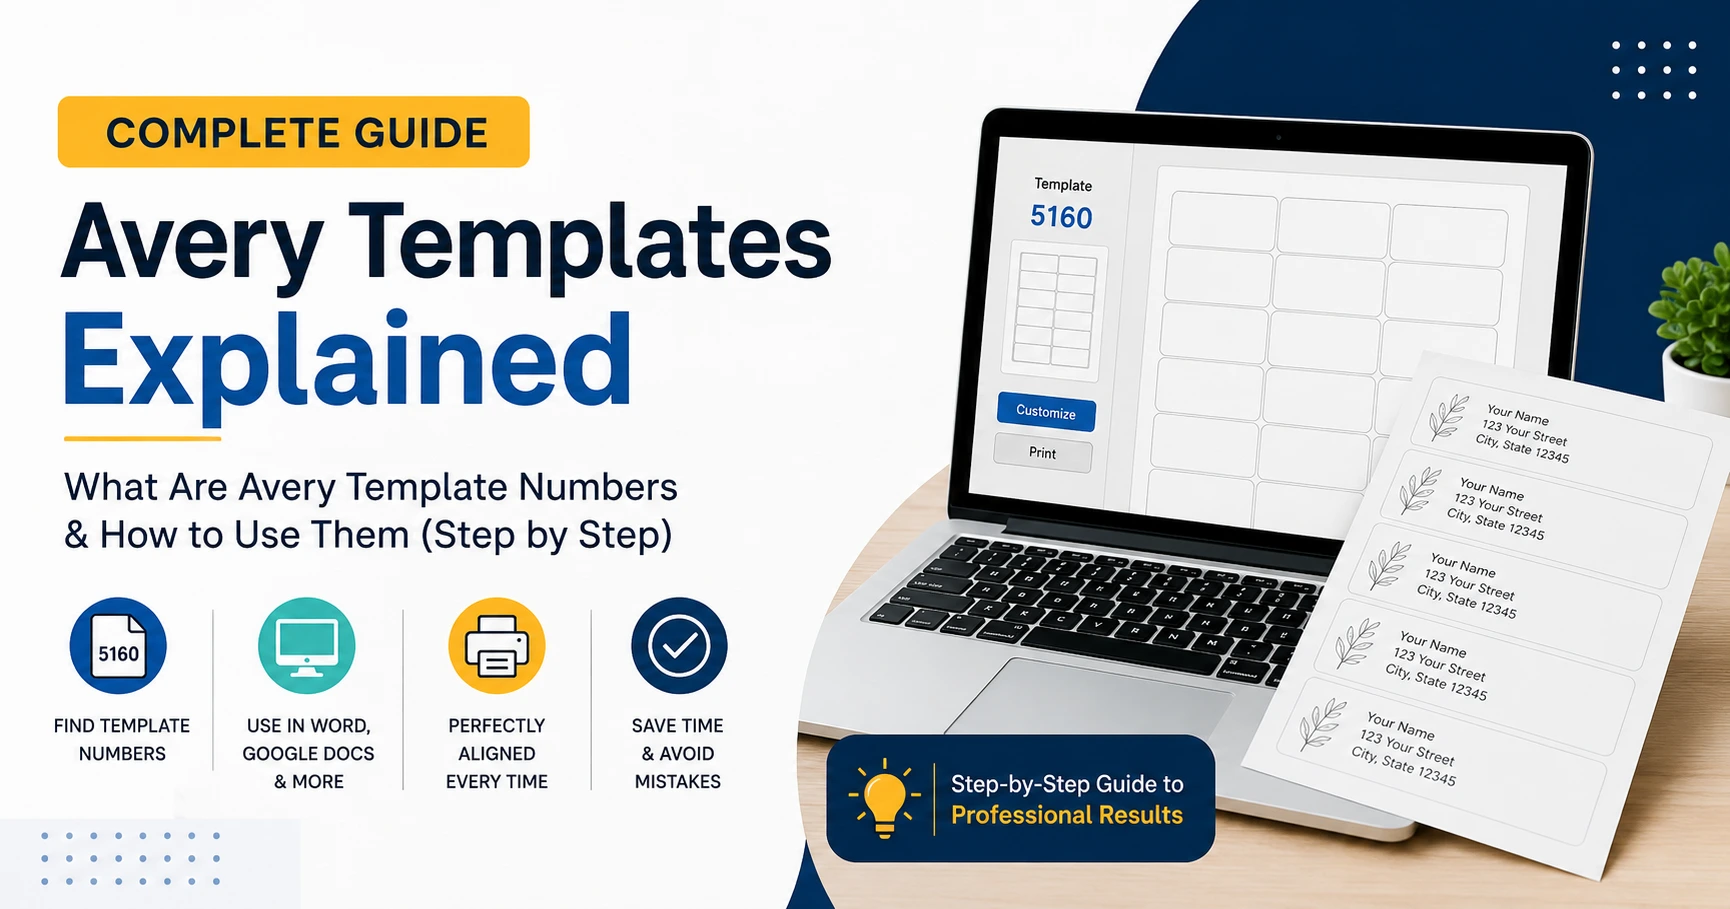
Every single Avery product from labels to name badges and dividers to cards have a code printed on them, typically a number that looks like 5160, 8871 or 22806. This number is not some random code that Avery made up so you would know what you purchased; It actually corresponds to a specially formatted digital template that has been set to the exact margin sizes and spacing needed for that specific product.
Instead of eyeballing it with a ruler (as I ignorantly did) resulting in a crooked label that nobody can read, you simply enter in the code for that specific Avery product into a specially formatted Avery design tool and watch as your document fills with all of the boxes needed for that specific sheet of labels.
Once I learned to use these special tools, label making went from a time consuming, frustrating task, to a five minute task.
Four places to use Avery Templates
Here are the four places I’ve used Avery Templates to get my Avery sheets of labels to function:
1. Avery Design & Print Online
This is Avery’s own design tool located on avery.com/print and it is free and my favorite for the average person. Simply enter the code for your Avery sheet of labels and watch a canvas load up in the exact size and format that your sheet requires. You can enter in text, upload a graphic or logo, Avery’s own design tools and templates, or import a mail merge spreadsheet to automatically fill in information.
Last year I helped design and set up Avery shipping label sheets for a client’s new small business by using Avery’s design and print online. This entire Avery sheet of shipping labels only took me about 15 minutes to set up and populate the logo for each shipping label in the center and it printed out perfectly aligned on the first try.
2. Microsoft Word’s (built in) label templates
Avery has built in templates for Microsoft Word for those who primarily use Microsoft products. To use Word’s built-in Avery templates, open up Word and select “Mailings” from the top menu, and click on “Labels”. From the “Labels” menu click on “Options” to view a list of Avery US Letter templates including their corresponding numbers. I primarily use Word’s Avery templates when I only need to print a few sheets of address labels for things like thank you cards, or file folder labels.
3. Google Docs (with a free add-on)
Unluckily, Avery’s label templates are not integrated into Google Docs like those in Word.
But if you want to use Google Docs as your office suite, there is a free plug-in called “Avery Label Merge” on the Google Workspace Marketplace that operates in a similar fashion as Word’s label options. Just input your Avery code or import a Google sheet and you will be able to create your Avery labels and print them through one simple procedure. This plug-in was useful for me when I helped one of my teachers print all the names of her students on book plates for her classroom library. Though it took me twice as long as it would take me in Word, it worked.
4.Templates for download (Photoshop, Illustrator, Canva etc.)
If you are going to be doing more design heavy Avery label making projects, there are downloadable blank label sheet files for design softwares like Photoshop, Illustrator or Canva located on the product pages for the corresponding Avery sheet. These files are labeled as “Templates”.
My exact step by step process for printing Avery Labels (for any project I’m working on)
Here is my exact step by step process of making Avery labels whether I’m working on address labels, business card sheets, name badges, or label sheets for file folders:
Step 1: Find the correct Avery Template number
There will be a code on the label sheets you buy from Avery. The code can usually be found on the front side of the package in any one of the four corners, and will resemble “Template 5160”.
Alternatively, you could look for these codes through Avery’s own website using the “template number finder”.
Step 2: Choose which platform you will design on
This can range from Word or Excel to a Google sheet depending on what it is you’re making. If I am designing something a little more design intensive like business card sheets or name badges, I typically use Avery’s design and print online as these are made specifically to design and print Avery products. If I’m just making simple address or file folder labels, I find that using Word’s Avery templates is a much faster, easier way to accomplish the task at hand.
Step 3: Enter the code your chose and review preview
This allows you to review design previews for your project depending on the design program you’re using and it can save you so much time. It’s easy to miss a design issue until you print it out on real paper only to find that the text is all bunched up or the logo is floating in the middle of the label. I always double check the borders and margins and logo placement before beginning this step to save time.
Step 4: Print blank paper (THIS STEP IS ESPECIALLY IMPORTANT!)
Before you go and print your expensive Avery label sheets, print a copy onto a blank sheet of white paper first and hold it up to the blank sheets of your Avery sheets. It’s the fastest way to see if any of the design elements are slightly off in their alignment. If the printed blank page lines up with your Avery sheets, move onto the next step. If not, adjust your margins in your design software slightly before moving on.
Step 5: Print “Actual Size”
Most printers have an option called “actual size” when you go to print something out. This will stop the printer from scaling your Avery label sheet design up or down to fit the page.
This is especially important when printing Avery sheets or other documents that require very specific formatting. If your Avery sheets are printing out too small, or the text elements aren’t spaced out correctly on the Avery sheets, try changing your printer settings to “actual size.”
Step 6: Print a small test batch first!
After going through the previous steps, I typically only print out a few labels first to make sure everything looks good. This is mostly just a backup step for me, especially for more expensive specialty Avery sheets, like waterproof ones because I don’t feel like wasting an entire sheet of expensive, specialty waterproof labels!
Actual examples of how this helped me
My friend who owns a small candle company used to have to manually write out all of her shipping labels before discovering this, and she currently saves about half the time she would take to package up her products and her shipping labels look professional as opposed to being hand written.
I used to print out my own pricing stickers for a garage sale by hand before discovering this, and was able to create a generic Avery template and batch edit the prices in about ten minutes via mail merge and avoid writing out all of the individual price tags by hand.
In preparation for my book club, I printed out name badges using the Avery template that came with the box of Avery name badges, populated each badge with everyone’s name in about twenty minutes by putting the names into a spreadsheet.
Where most people (including myself) tend to go wrong with this method
Guessing the Avery code instead of looking at the box.
Avery has so many sheets that are very similar to each other, and yes, the space in between the labels matters.
Not doing a test print.
Seriously, do it. Thirty seconds of waiting is worth an extra page of label sheets if something is off.
“Fitting to page” on the printer.
Fitting to the page will cause the printer to shift everything around so that it fits on the page instead of maintaining the exact spacing.
Failing to adjust your margins after using different design programs.
When designing in one program such as Microsoft Word and then moving your design to a different program such as Publisher, the margins might move.
Make sure you double check the preview of the design before printing it out.
Not saving your design.
You took the time to make it, so save it! If you save it (not just print it out), you won’t have to do it again, like I did when I didn’t save my return address sheet template three times because I didn’t think I would need it again!
Purchase generic label sheets that look similar and assume they are Avery sheets and use it with an Avery code.
Sometimes it’s close enough that it will work, and sometimes it won’t, but you’re going to end up with some strange white lines along the edges of your label sheets.
Simple tips to make this less of a pain
Keep a digital file of all your saved Avery label sheet designs in a file on your computer if you’re going to use them a lot, instead of designing them from scratch every-time you need them. I have them saved as “Return Address 5160” and “Shipping Labels 5163” etc.
If you are using a mail merge, clean your spreadsheet.
Make sure everything you want is there and labelled correctly before you use it in case the merge doesn’t work, I promise, it never does the first time.
If you are ever confused about what number goes with what Avery product, Avery’s website has a search bar where you can search by size in inches which helped me when I grabbed an entire sheet of labels out of a box with a damaged box.
Conclusion
I don’t know about you, but I never expected a number to change the way I approached something as simple as label making. Instead of spending an unreasonable amount of time, paper, and frustration on something as simple as label making, it can now be accomplished in the amount of time it takes to make a pot of coffee.From now on, each time you want to print anything—name tags, labels, index cards—the task of searching for that number should be your first objective. It might appear to you like an exercise in futility, but rest assured, it isn’t.
Read More: Selling Digital Products Online: Step-by-Step Guide (2026)
Can I use Avery templates for free?
Yeah, totally free; that’s actually one of the best things about them.
Avery Design & Print (their online tool at avery.com/print) costs nothing to use. You get access to thousands of professionally designed templates, plus tools for adding images, editing text, and doing mail merge for address labels. There’s no subscription, no watermark, and no “upgrade to remove ads” nonsense.
How do I do an Avery template in Word?
The same applies to the other options I mentioned:
– Word’s built-in Avery templates are free since they use label size data already included in Word.
– Google Docs “Avery Label Merge” add-on is free to install and use.
– Downloadable design files (for Photoshop, Illustrator, Canva) are also free from Avery’s template pages.
The only thing that actually costs money is the physical label paper itself; you’re paying for the sheets, not the design software.
One thing to know: if you want Avery to print and ship the labels for you instead of printing at home, that service does cost money. But designing and downloading the template yourself, then printing on your own printer, has always been free.
If you do this a lot (like for a small business), it’s worth bookmarking avery.com/templates—you can search by your product number and jump straight to the free editor without digging through menus.
Here is a step-by-step guide to follow for making the most out of label sheets. The whole process takes only 2 minutes.
Step 1: Open Word and select Mailings
First of all, open the word program and open a new blank document and choose the Mailings tab.
Step 2: Look for Labels
In the Mailings tab, you will see an option for Labels (second from the left), right beside Envelopes.
Step 3: Access options by clicking Options
After choosing Labels, a small menu will open on the left. Now you need to choose the Option button (you will see the word Options … on the small menu that has appeared).
Step 4: Set Avery as the label vendor
In the Label window that will appear from clicking on Options …, you can see a drop-down option for Label vendors. Choose Avery US Letter (or Avery A4/A5 for the European Union) as your label vendor
Step 5: Scroll through Product number
Underneath the label vendor option, you will see a scrollable list (Product number label). This is where the number from your label sheet comes into play. Click on the product number that corresponds to the label sheet you have. For example, 5160 is the default address label sheet, 8871 is the default CD label sheet, etc. To the right, Word will print the exact measurements so that you can cross-check that the product number you have selected corresponds to your label sheet.
Step 6: Click OK and type desired text
After clicking OK, you can see the Labels tab again, but with some changes. You have the option to type your desired text in the Address box (in case you have repeating text such as a return address). If you would like to type different text in various labels, you can leave the Address box empty.
Step 7: Choose options between Full page or Single label
Now you have a choice between two options:
• Full page of the same label (This is useful in case you have multiple copies of the same label, for example, for return addresses)
• Single label (If you would only like to print one single label or a few non-repeating labels from your label sheet)
Step 8: Make sure to select the New Document option
This is a common mistake that people tend to make. Make sure you click on the New Document option and not on the Print option (you will see those two options on the bottom left corner of Word). By clicking on New Document, you can see how Word has divided the whole page according to your label sheet. You can now edit any text and add any pictures individually to the labels.
Step 9: Print a trial copy on a blank sheet of paper
Before printing out your desired project (which may be time-consuming), it is best to test that the text or picture is positioned correctly by printing on a blank sheet of paper. You can place this blank printed sheet on top of the label sheet you want to print and look at them together with a light source. If the text is aligned with the boxes on your label sheet, then you are all set! If it is not, go back to the Labels tab again and ensure you have chosen the right product number.
Step 10: Print your document
Now all that is left to do is, print out your document. However, make sure you have selected the option Actual size when printing (not fit to page) so that the text or picture you added appears in the right size. The option to choose Fit to Page (or Shrink to fit) is what caused my text to not be aligned in the middle of the label box.
for example.
One thing to note is that in the case that you would like to print different addresses (or different text) per label from a spreadsheet, you can go to Mailings (in the top bar) and select Start Mail Merge > Labels (from the drop-down menu) rather than selecting the single Labels tab we selected earlier. You would then follow the steps to indicate to Word where your spreadsheet is (that contains the different names or addresses you would like to print per label from your label sheet).
How do Avery templates work?
The most fundamental thing that all Avery products have in common is that they are marked with a number on the box, such as 5160 or 8871. This number corresponds to a digital template that contains all the information on how to format text so that it appears in the right place on the sheet when printed.
By opening this template in a word processor, you get a grid that serves as a guide for placing your text. The exact location of the text on the page depends on the sheet size and label dimensions. The magic of this system is that it only requires you to input the number from the package into a word processor or specialised application (such as Google Docs, Word, or Avery’s own website) to generate an appropriate template for your printer.
In short, this is how Avery sheets work in general. The number on the package indicates a specific template that is used to determine the position and spacing of text fields.
How do I print my own labels on Avery?
1. Find your Avery product number by finding it either on the label sheet itself or on the box packaging, something like 5160 or 8160.
2. Choose your preferred application:
Microsoft Word: Mailings tab > Labels > Options > select “Avery US Letter” and your product number
Avery Design & Print Online (avery.com/print): search for your product number, which will get you to a browser-based designer with images/text you can add and a mail merge option
Google Docs: you’ll need to install “Avery Label Merge” if you are using a spreadsheet to mail merge to labels
3. Design your labels: you can either type directly into your design or, for something a bit more complex, use the mail merge function to import a spreadsheet of information (names, addresses, prices, etc.) so each label auto-fills from your spreadsheet.
4. If you have the option of printing on regular paper first, do it and double-check the alignment. Hold your printed test page up to the label sheet you intend to print on (back of a light source works best) and make sure that the labels are aligned correctly. If they are not, you may need to go back and double check your product number.
5. Double check your printer settings: make sure it is set to Actual Size rather than something like Fit to Page which can throw things off, even with the correct Avery product.
6. Print your finished Avery product: I would recommend test-printing just a few labels at first if you are using something like waterproof or metallic labels which can be expensive.
All of this is pretty much it; once you have your product number figured out, the rest is really just designing and hitting print. The program will handle all of the spacing for you once you’ve selected your product and, really, all you have to do is type and print.
How to use Avery templates without Word?
You have a few options for creating Avery label templates without opening Word. Here are some possibilities:
1. Avery Design & Print Online (avery.com/print). This is my favourite option because it is free and very straightforward. Simply enter your product number and it will open a blank document the size of your label sheet. You can type your text, add a logo, use their clipart, and even do a mail merge with Excel. It works in a web browser too, so it should be compatible with phones, tablets and computers.
2. Google Docs + “Avery Label Merge” add-on. Install the free add-on from Google Workspace Marketplace (search for “Avery Label Merge”), and it will walk you through choosing a template number and merging in names and addresses from a Google Sheet. This is a good option if you prefer to work in Google Docs instead of Word.
3. Canva. Many Avery products (business cards, labels, name badges, etc.) have templates built into Canva. Search for “Avery [Product Number]” within Canva’s template search, or look for a “Canva” link on the specific product page within avery.com. This is a great option if you want professionally-designed templates that aren’t just basic text fields.
4. Photoshop or Illustrator. If you need to create a design from scratch, consider downloading .psd or .ai template files directly from Avery’s product pages. This is a good option if you’re already familiar with these programs. Their templates are sized to match every Avery product number.
5. Pages (Mac Only). On your Mac, you can try the native label templates in Pages, but they don’t offer as many options as Word or Avery Design & Print Online. This would be a good alternative for people who primarily use Apple computers.
In most cases, Avery Design & Print Online will cover everything you need without having to install any software. It covers 90%+ of what you would do in Microsoft Word, and it doesn’t require signing up/loging in to anything. All you have to do is enter your product number, and it will open a blank template of that size.
How do I create my own Word template?
Not an Avery-related tip this time, but here’s how I do my reusable Word templates for stuff I find myself making over and over, like invoices or letterhead.
1. Create your document the way you want it. Fonts, margins, logos, headers – you name it. Just make sure to leave placeholders for the bits you’ll need to edit every time, like “[Client Name]” or “[Date].”
2. Navigate to File > Save As.
3. Select Word Template in the dialog box that pops up. If you’re asked to choose a file type, make sure to select Word Template (.dotx) rather than the standard Word Document (.docx). If you need to save macros or special features, you’ll want to select Word Macro-Enabled Template (.dotm) instead.
4. Save it to the default location. Usually, Word will take you to the Templates folder automatically when you select Word Template as your file type, but if not, the default should be Documents > Custom Office Templates
5. Give your template a sensible filename so you’ll remember what it is later – I like to use “Invoice Template” or “Weekly Report.”
6. To open your template, launch Word, and either click the Personal tab (or “Custom”) in the upper-left corner, depending on your version, or go to File > New. Your reusable Word template should appear in the list instead of the default Word templates.
There are a couple of caveats I should probably mention:
Every time you open the template, it’s technically a new document, so you can’t just open and save over your old one. Word will ask you to save it as a new file every time, so you can keep using the original template without ever altering it.
For fields you want to populate every time, like the current date, make sure to go to Insert > Quick Parts > Field and select Date or another field type. That way, it’ll update every time you open the document.
If you tend to include the same company logo or other elements in your Word templates, this is definitely the way to go to save yourself the trouble of recreating the same thing over and over.
Can I download an Avery template?
Yes. Two ways:
avery.com/templates – search or type in your product number to find and download a Word (.docx) file (the Word doc will open in your browser)
On the page for the product itself (avery.com), design software templates will be listed as .psd, .ai, etc. or linked to Canva if available
All of these are free.
Does Canva use Avery templates?
Yes – Canva has templates for specific Avery products, including labels, business cards, name tags, and more. Simply search for “Avery” plus your product number (like “Avery 5160”) in the search bar on Canva’s templates page, and designs that use that particular Avery product will appear for you to customise and print.